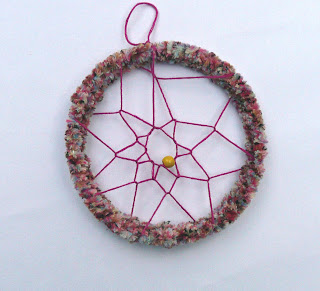
We decided to try and make Dreamcatchers yesterday...a simple star design and then a more advanced one that proved a little tricky.
We'll start with the simple one.
Materials Required:
yarn
a yogurt or margarine lid
a few beads
scissors
a few feathers
string
Take your plastic lids, punch a little hole to get you started with the scissors and then cut out the inside. You want to leave at least 1/4 inch of the lid...they usually have a raised edge to show you where to cut to.
Our lids were about 5 inches in diameter. You don't want to go with a really large lid as it won't be stable when you cut out the middle.
Take your yarn and cut off a piece that when formed in a ball will fit in your palm....that should be enough.

Kids sometimes have trouble when winding the yarn around the ring....so if you make a simple shuttle it will stem the frustration and the tangles.
I took a toilet paper roll and squished it. You can use a piece of cardboard. At school the kids wind their wool around a glue stick....use what you have, it's only temporary.

Now you are going to make the web. Cut a length of string. For the simple star pattern you only need to cut a string about 24 inches.

Start weaving your web...follow the #'s on the pattern...make sure you wrap the string around the ring at least once at every point of the star...otherwise the string will just slide off your catcher.
If you want you can make a double star at this point.

Start at #1 and then continue...at #6 slide on your bead. #7 is where you tie off.
When finished add a loop for hanging at position #3...that will keep your bead in the center of your star.

Cut a length of yarn or wool about 14 inches long and tie onto the bottom of the catcher.
I like to have them at different lengths so trim your yarn to your liking.

To add feathers just slide them into the bead holes. The beads will hold them into place.

That's it. You can now hang it above your bead. You can make a double star if you want for a more substantial web or you can try the advanced version.

The hardest part I found with the advanced version is keeping the same amount of slack between the loops. It's not till you are weaving the 3rd or 4th round that you realize you may have a bit of a hole.
The kids still enjoyed making them though so its worth a try.


No comments :
Post a Comment