This is a clay Polar Bear project I just completed with Grade 3.
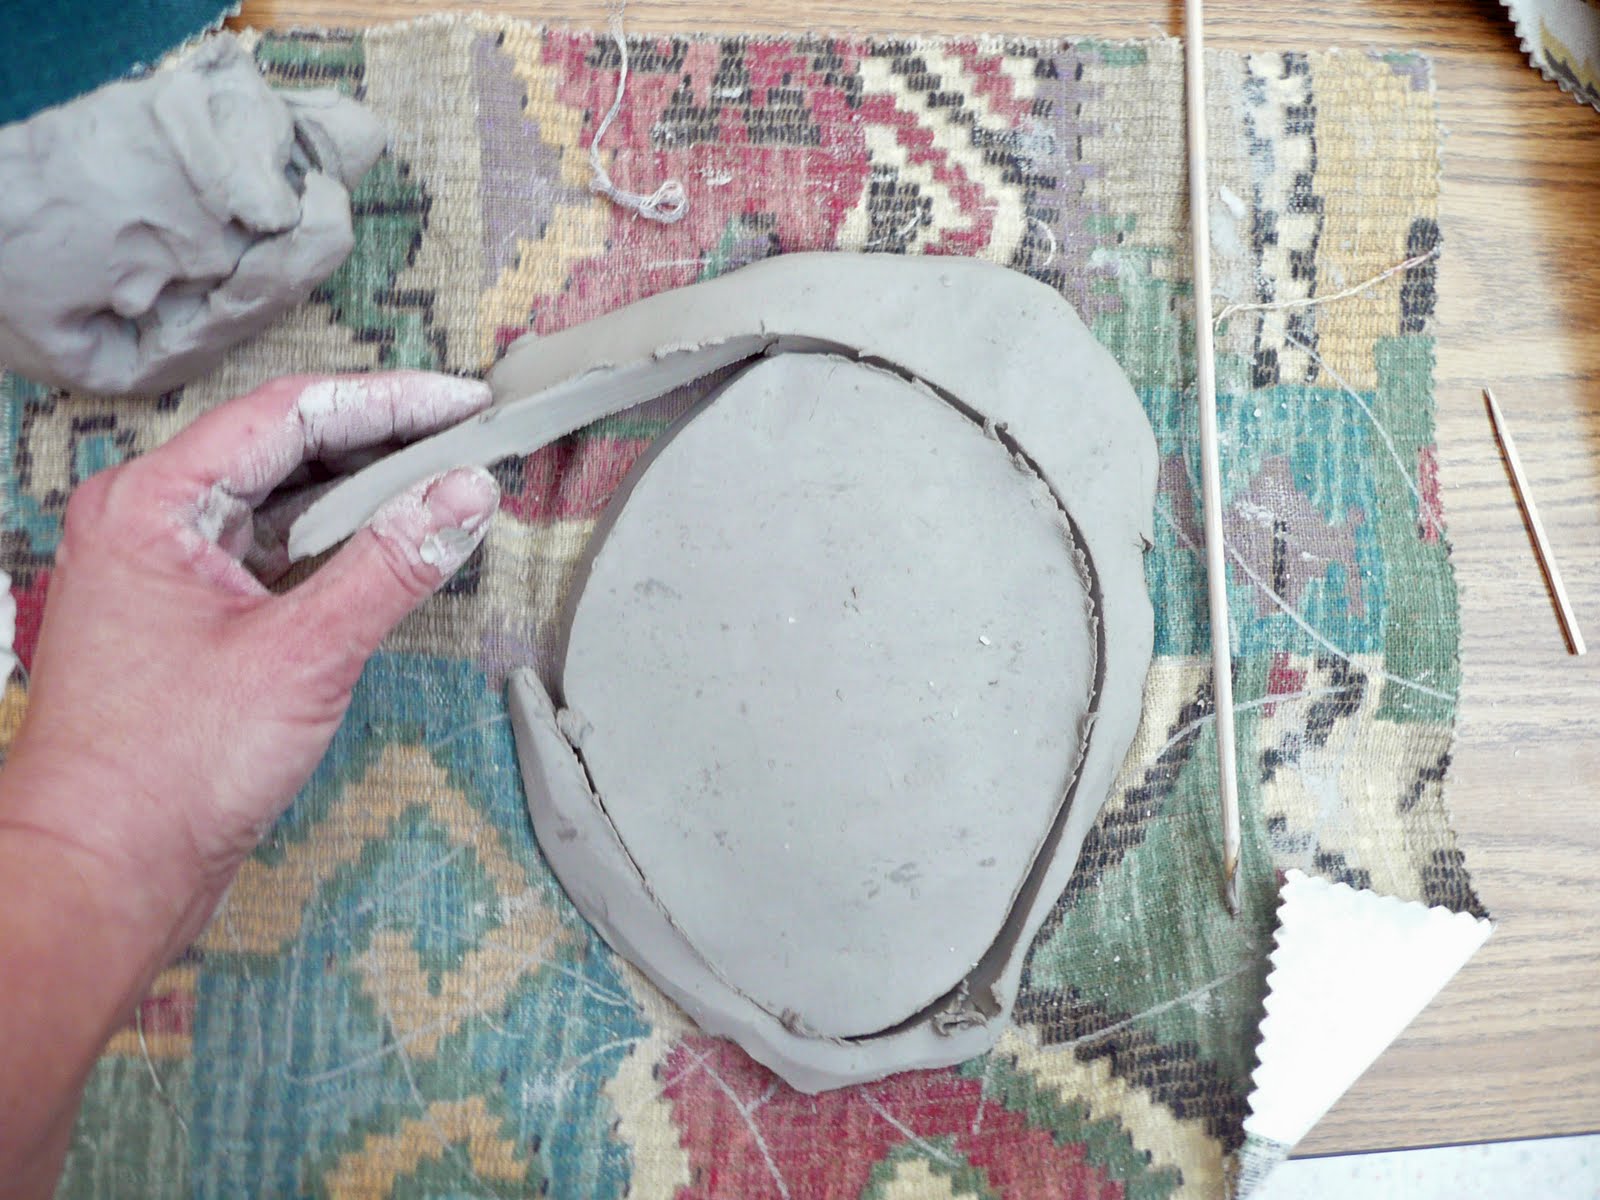
Take a slice of clay and roll to about 1/2 inch thick.
Cut a nice oval base with a wooden skewer.
Using your finger dipped in water smooth the jagged edge left from cutting.
I explain to the students that if we leave this edge that once this piece is fired this could be very sharp and might cut someone.
Take some clay and form 2 back legs and 2 smaller front legs.
Using the "scratch, scratch, water, water" chant we attach these legs to the base.
We want to be sure the 2 surfaces that are touching have been sufficiently scored and moistened so that our clay will "glue" together.
Taking a fair lump of clay (palm sized) form a pear or gourd shape for the body.
Place it on the 4 legs and continue refining until you are happy with the shape. Attach to the 4 legs with the "scratch, scratch, water,water".
Continue to define the shape and pinch out some ears. You want a pointy nose.
I had reference photos for the kids to look at while sculpting.
Using a toothpick we added our names and the year to the base.
Leave bears to dry out for about 2 weeks.
After completing a bisque fire in the kiln, glaze using white and blue underglaze with a clear topcoat.
and that's it! The grade 3's did an awesome job.
See you next time.


 It comes from this book.
 Color in the entire page.
 Take some black acrylic paint and paint over entire page.
 Using a wooden skewer or toothpick scratch in your design.
 Here are the finished results from Grade 2. We were following the book and scratching in a grid design but you can easily do a full picture like the one posted at the beginning. Thicker lines tend to look better.


 Great work Grade 2. Why don't you give it a try?