Tuesday, May 18, 2010

Woven Flowers and Butterflies


Sorry I haven't posted a lot lately...been trying to keep up with the kids!

This is a project I recently completed with Grade 1. 

It is a combination of a circle weaving project I first saw on "oodles of Art Projects" here.......

and a butterfly project from "The Artful Parent".

This is my version so let's get started.


We used small recycled paper plates which were cut with 9 notches. Just cut from the rim to where the flat plate begins.  You need an ODD number in order to weave.

Pierce a hole in the center with a knitting needle.

Cut 9 lengthes of yarn....mine were about 6 inches and put one end thru the hole..other thru the notch and tie the 2 ends into a knot on the other side.
Do this for all 9 notches.


Take some yarn in the color you want to weave with. Tie on at the back and then feed thru the hole in the center.

For the kids I used a large plastic needle to help with their weaving.  I tied the other end of the yarn to the needle to stop it from slipping out.

Start weaving around the center going under one of the pieces of yarn tied in the notch and then over the next one.  When it's time to change yarn just tie right onto the end of the last one.

One thing you have to be careful with is to get the kids to keep the weaving quite loose otherwise it starts to pop up in the center instead of fanning out to the edges of the plate.

Here is an example of the yarn bunching up in the center.

Each child was asked to use 3 colors.


When the kids were finished weaving (this took a while) tie the last end of the yarn off by pulling it to the back thru a notch and then knotting it onto one of the other yarn pieces.


The kids then painted the rest of the plate.  We used liquid tempera paint.  Tempera disks did not work so well as there was a coating on the plate that resisted the paint a bit.  Set aside to dry.


I traced a large circle for each child, about 4 inches larger in diameter than the paper plate.

They painted these in various colors and patterns using disk tempera.

Set aside to dry.


Glue the woven plate to the center of the painted circle for your flower.  You could cut petals into the painted circle if you want.


For the butterfly I traced a butterfly shape to heavy paper.


The kids were asked to draw some designs onto the butterfly with white pastel.  Lines, circles, stripes.....


They then painted on top of these designs with disk tempera.


The kids loved this part as their designs "magically" appeared.


After they painted their butterfly we put them into the rack to dry and I gave each of them a coffee filter to paint.

I decided to add the coffee filter to the design to help hold the clothespin in place at the end.

Set aside to dry.


While everything was drying I painted some old fashioned clothespins with black acrylic paint.


I had the kids cut out the butterfly....they picked out a pipe cleaner for the antennae....we put tacky glue on the back in the center and in the front....slide the clothespin in place and then scrunch in the coffee filter.

Let the glue dry and you're done.


Beautiful flowers and butterflies.

Tuesday, May 11, 2010

Painted Kites


Here are some kites that Grade 5 completed with Mrs. Ryan. 


They looked so great in the display case I asked if I could post them on the blog.


Now for this set of kites they used these construction bags as the fabirc for the kites.  It is similar to tarp material and did fray on the edges. 

Mrs. Ryan wanted to use house wrap like tyvec but the roll at the hardware store was too big.  If you can locate a small amount this would be a great option otherwise you might want to sew your edges or fold over and glue down to prevent the fray.


Cut a basic kite shape.  Take 2 sticks, a good cheap option is to use the natural bamboo garden stakes.  Here in Calgary I can get a pack of 24 for a $1.99.

Tape your sticks into place using hockey tape.  You can add a tail with some plastic ribbon which you can also get at the hardware store.

Tie your string on at the joint between the 2 sticks...make sure to tie them together here as well.


Turn over and paint with  acrylic paint.


Great job Grade 5!


I also thought I would include these watercolor pencil  paintings from Grade 4.


Wonderful work Grade 4!

Tuesday, May 4, 2010

How to Make a Clay Polar Bear


This is a clay Polar Bear project I just completed with Grade 3.


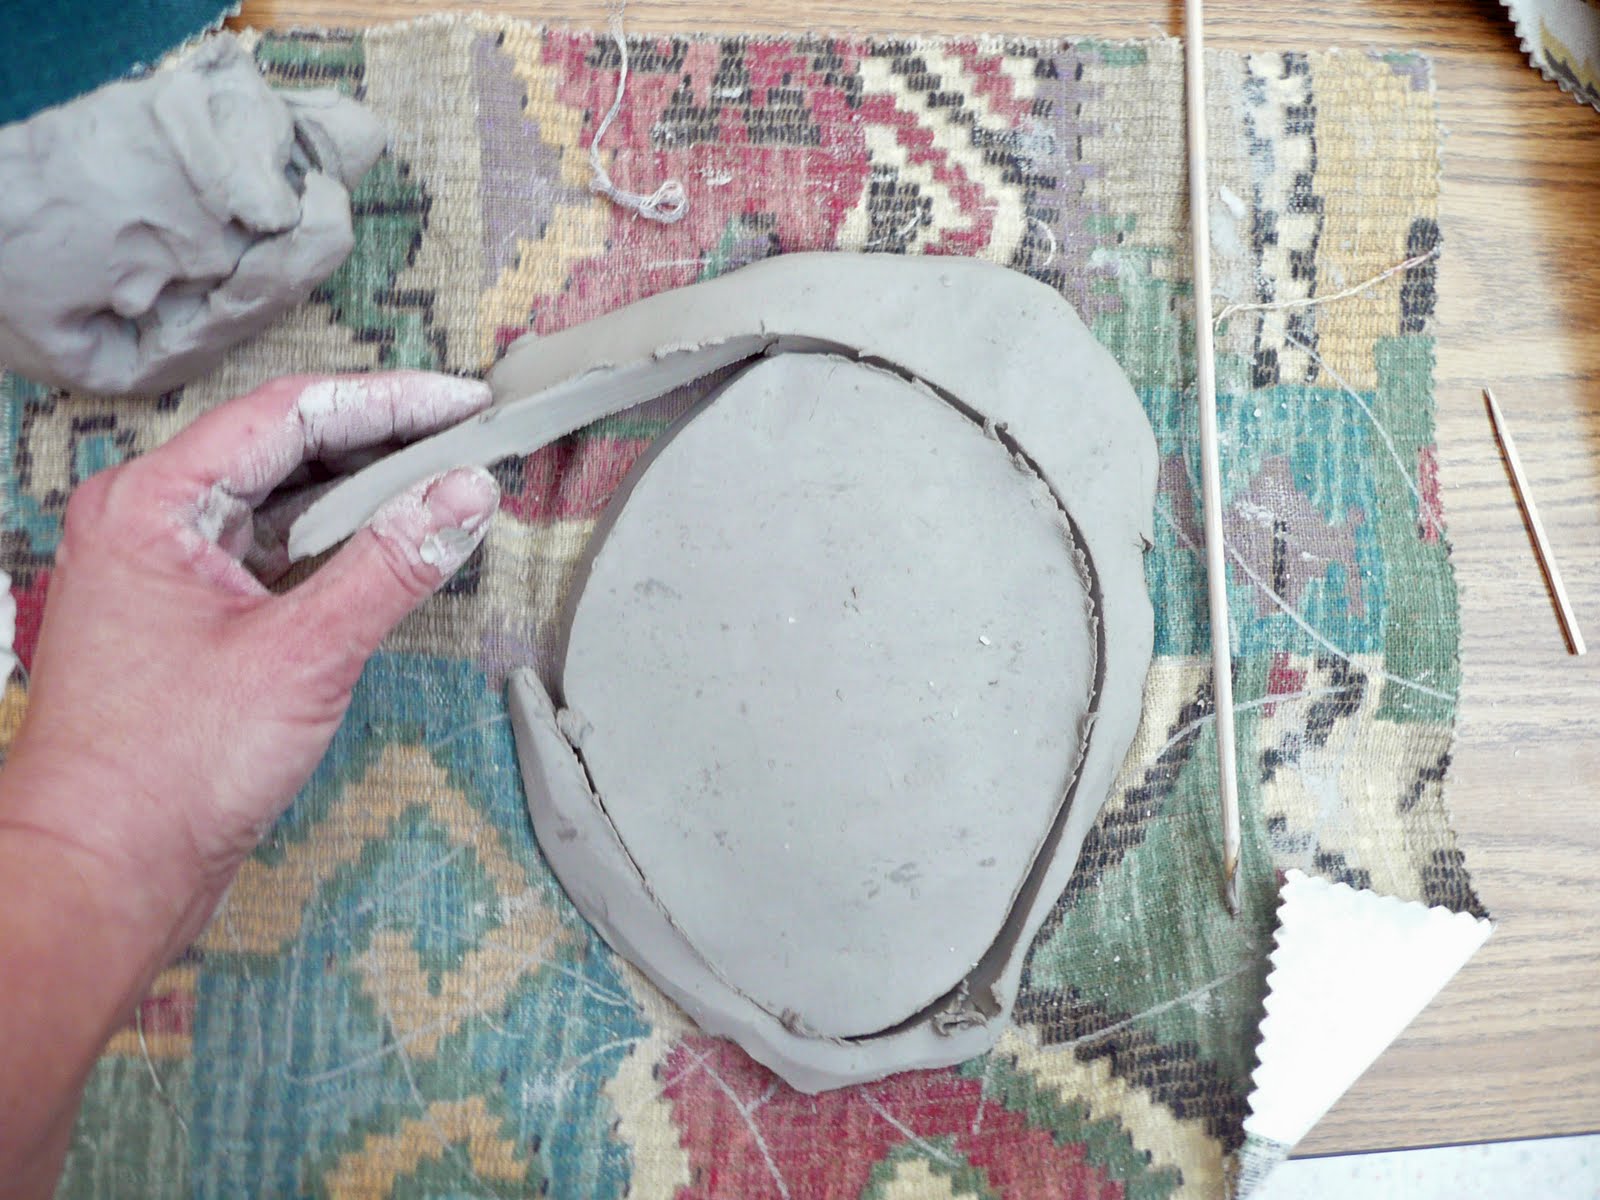
Take a slice of clay and roll to about 1/2 inch thick.

Cut a nice oval base with a wooden skewer.


Using your finger dipped in water smooth the jagged edge left from cutting.

I explain to the students that if we leave this edge that once this piece is fired this could be very sharp and might cut someone.


Take some clay and form 2 back legs and 2 smaller front legs.


Using the "scratch, scratch, water, water" chant we attach these legs to the base.

We want to be sure the 2 surfaces that are touching have been sufficiently scored and moistened so that our clay will "glue" together.


Taking a fair lump of clay (palm sized) form a pear or gourd shape for the body.

Place it on the 4 legs and continue refining until you are happy with the shape.  Attach to the 4 legs with the "scratch, scratch, water,water".


Continue to define the shape and pinch out some ears.  You want a pointy nose.

I had reference photos for the kids to look at while sculpting.


Using a toothpick we added our names and the year to the base.


Leave bears to dry out for about 2 weeks.

After completing a bisque fire in the kiln, glaze using white and blue underglaze with a clear topcoat.

and that's it!  The grade 3's did an awesome job.
See you next time.

Monday, April 26, 2010

Earth Day Glue Batik


Continuing with our "Big Blue Marble" theme here is a glue batik pillowcase we made in honor of Earth day.

Very easy for the kids to do and you get fantastic results.


I have a beginner glue batik post here.  For this project I took a piece of gator board (it's like a plastic version of corrugated cardboard) and I covered it with some wax paper.  You could use an art board or a piece of cardboard just don't forget the wax paper. 

You want it as close to the same size as the pillowcase as you can get.  My gator board is smaller so I'm making my design smaller to account for this.


Slip the pillowcase over top the board.  This keeps our design from bleeding thru to the other side.


It helps if you have a reference photo.  You also need washable gel glue.  I use the dollar store brand or Elmer's school glue.


To get a nice round earth I'm taking a large bowl and tracing my design in with pencil.

Don't worry too much about the pencil lines...as long as they are light the tend to get washed out later.


Here my helper Tika the cockatiel gets into the act.


Once you have traced out your design in pencil you can start going over your lines with the gel glue.  Draw it out just like you did with the pencil.  Any areas you want to stay white fill in with the gel glue.

Let dry....it will take about 24 hrs. Make sure to leave the board in the pillowcase.


Before painting just lift the pillowcase up a bit in case it is stuck to the board but keep the board in place for painting.

Using acrylic paint, paint in your design.   To stop the colors from mixing you can let one area dry a bit before painting next to it with a different color.

Here I painted the land parts first and by the time I went to paint the ocean the edges of the land area was dry.


Fill in your background areas.  You can water your paint down a bit to make this go faster.   I kept my border white as my board is smaller than my pillowcase and I like the way it looks.

Let the paint dry with the board in place.

When the paint is dry remove the board and soak the pillowcase in very warm/hot water for about 30 minutes.  If the glue has not washed away by then you can scrub it a bit.  Dry and you are good to go.


That's it.  I LOVE using the gel glue batik method and there are numerous applications.  You can even design your own fabric to then create with.

Give it a try.


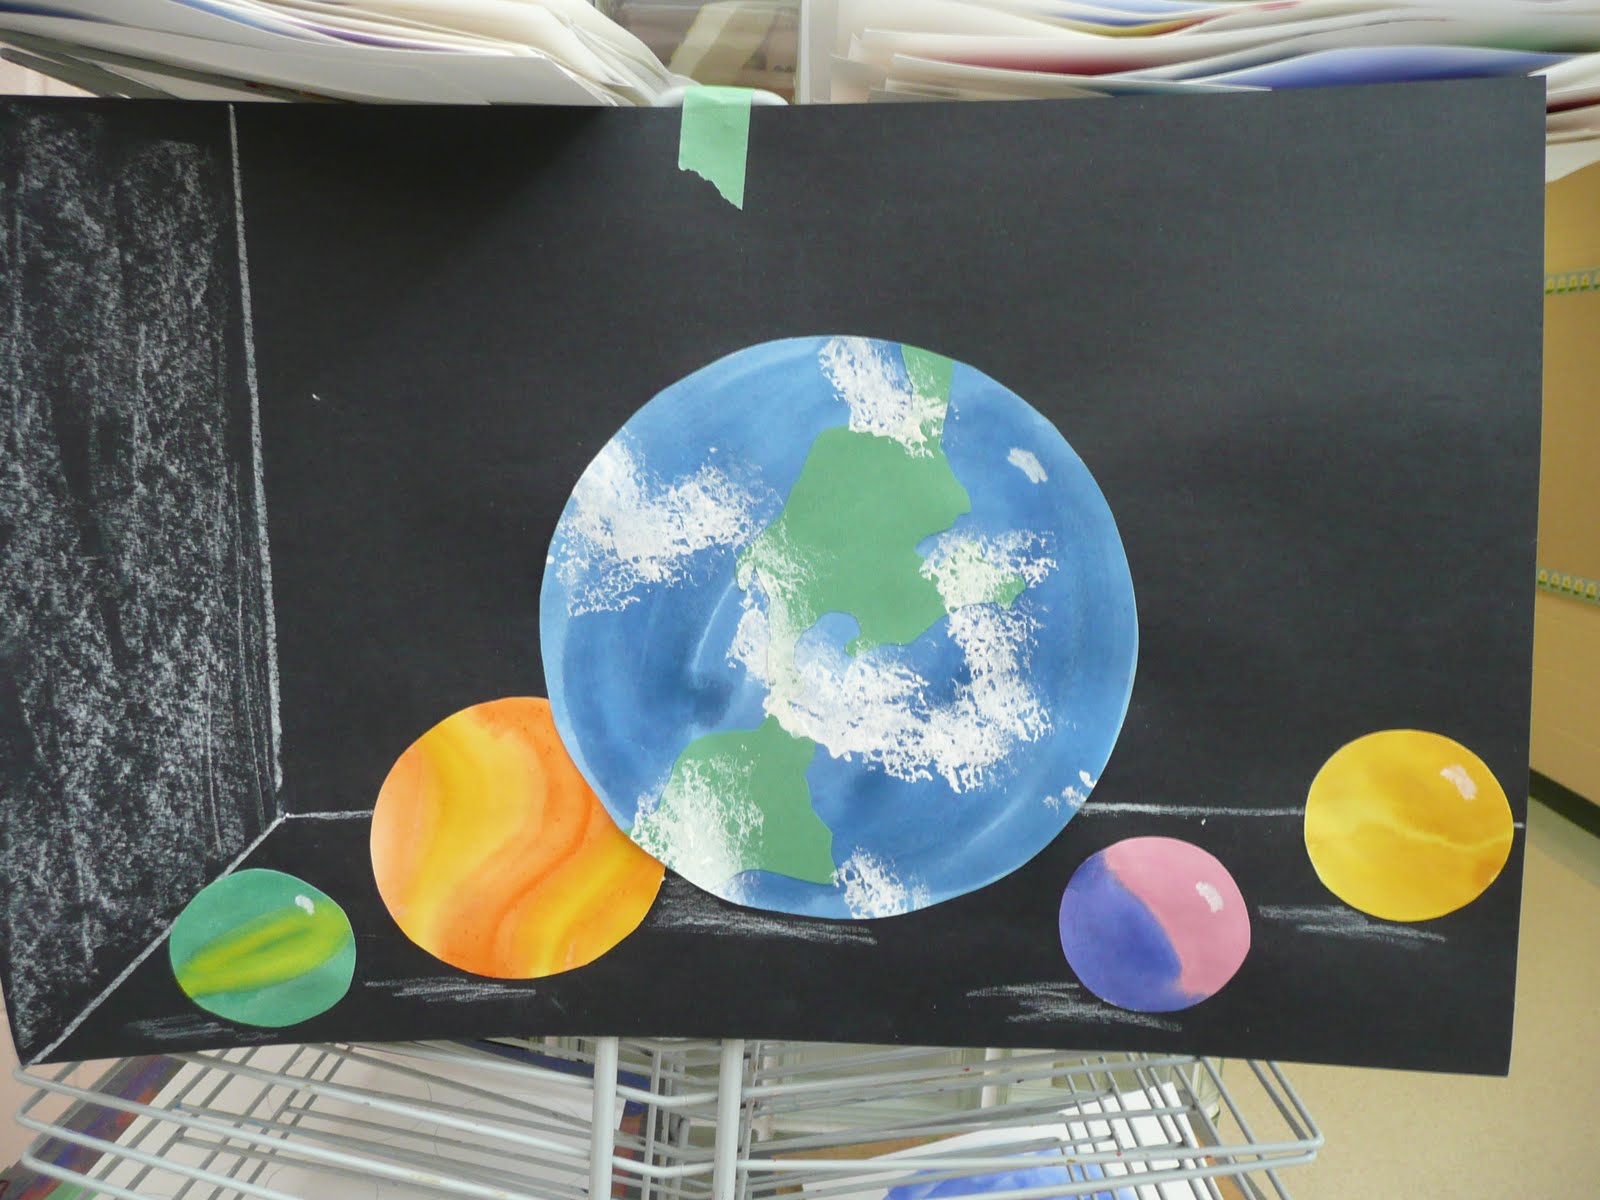
Before I forget here is an updated "big Blue Marble" project I did with Grade 1.  We traced out our circles and then painted but I had them paint the entire Earth marble blue. 

Then using templates I made we traced out the land on green or brown contsruction paper.  We glued this on our blue marble and sponged on some clouds with white paint.  I found this was easier for them.

Click on the photo to see bigger.

Monday, April 19, 2010

Big Blue Marble


I'm back!

When I was a kid there was a show on PBS called "Big Blue Marble" and it was my first introduction into thinking globally and ecologically.

In honor of Earth Day I'm taking that big blue marble theme as a basis for some projects.


The first project is a watercolor painting project.


You need the following......

watercolor paper
paint (tempera or watercolor)
brushes
round objects for tracing
paper for mounting
glue
reference photos
pencil


Find an assortment of round objects around the house.  You want large, medium, and small sized marbles.

Using a pencil trace a bunch onto your watercolor paper.


In order to make your marble look 3 dimensional you need to add a highlight...because it is sphereical your highlight will be a concave rectangular shape.

Your highlight will be in the same place for all marbles.

Pencil in some guidelines for your "earth" marble as well.


Now you can start painting.  Don't worry about staying in the lines as you will be cutting these marbles out.  Don't be afraid to add some drops of water onto your painting to create some "blooms".

This will make yor marbles look more like glass.  Click on photo to see larger.


Paint in your Earth.  Using a kleenex you can lift out some clouds.  When it is dry you can also use a wet brush to scrub where you want a misty cloud and then blot with a kleenex.


Now when painting a sphereical shape with watercolor it helps to go back in after and lift a little paint from the center just below the highlight.  To lift use a wet brush (clear water) and scrub a little.

You also want your edges (where you penciled your circle) to be a bit darker as they are receding.  Add some darker shading.


Keep painting in all your marbles...use a reference photo to help. (search google images for marbles)


Cut out your marbles and experiment with placement before gluing.  Make sure the highlight remains in the same place for all marbles when positioning.


You can also add some pastel to create a shadow on the surface where your marbles are placed or to show the wall/floor.


That's it.  Give it atry and create your own "Big Blue Marble". 

Sunday, April 4, 2010

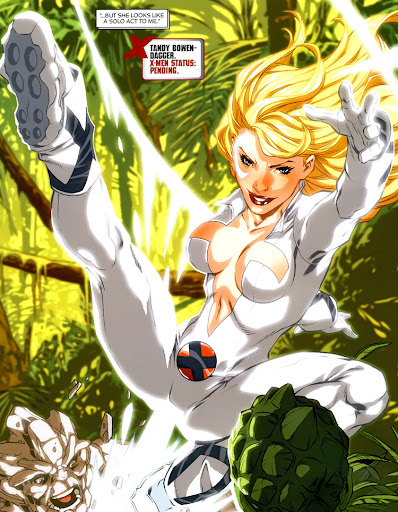
Dagger

From Cloak and Dagger #1 [2010]. Art by Mark Brooks.